
Visual Basic For Loop
This third tutorial on loops, following the Do While and the Do Until loop, covers the For Loop. There are two For Loops in Visual Basic, the For Next Loop, which you’ll see in virtually every programming language including .NET, Visual Basic 6.0, VB Script and VBA, and the For Each loop which was introduced to VB.NET.
The For Loop is my favourite of all the loops and one which I use far more than the two Do Loops. The For Loop is designed for looping through some sort of sequence. That sequence may be 1 through to 50, or items in a collection. With the For Loop you define the sequence and iterate through it.
The syntax for the For Next loop is as follows
For number = lower value To higher value

     Code

Next
In practise this looks as follows
For i As Integer = 1 to 10
     Code
Loop
Most loops are executed over some kind of counter. If you do want to loop through a counter then I would always go for a For Loop as opposed to one of the two Do loops. The For loop defines everything you need to know in one line. You know exactly where you are with the For loop the second you read it. Everything is there to digest without having to look in the body of the loop. It’s the most honest loop, is straight to the point and that appeals to me.
Look at this same code with the Do Loop.
Dim i As Integer

Do While i < 11
     Code
     i = i + 1
Loop
Or
Dim i As Integer

Do Until i = 11
     Code
     i = i + 1
Loop
In both cases, you have to look at the first line and the body of code to see how the loop works. You have the condition in the first line fof the loop and the counter (in this case i = 1 + 1) in the body of the loop. It’s that much more difficult to read. The code in both examples works, don’t get me wrong, and working code should be your first priority. But working code that is easy to read and, hence, easy to maintain, is what you should be aiming for as a craftsman.
You can increment backwards using the For Loop using the following syntax
For i As Integer = 10 to 1 Step -1
     Code
Loop
Or you can increment by more than 1 if you like using the same instruction
For i As Integer = 1 to 10 Step 2
     Code
Loop
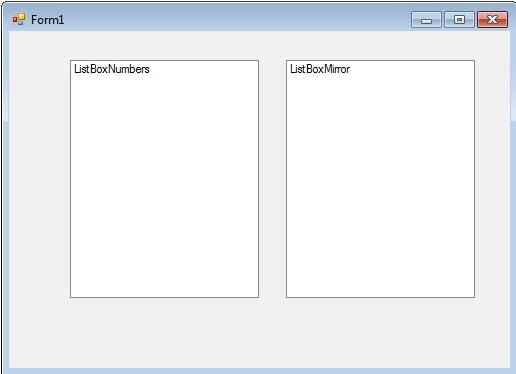
Create a new Project called “For Loop”. Add two Listboxes side by side, one called ListBoxNumbers and the other called ListBoxMirror and style them so the Form looks as follows
Dim i As Integer

Do While i < 51
     ListBoxNumbers.Items.Add(i)
     i = i + 1
Loop
Now I want you to convert this exact code into a For Next Loop. No cheating. Do not look at the answer below.
The answer is of course
For i As Integer = 1 To 50
     ListBoxNumbers.Items.Add(i)
Next
If you didn’t get it, don’t worry, just take a look at the solution. Hopefully you can immediately see the benefits of this loop. Instead of 5 lines of code, we have 3. And to understand the loop, you just read the first line. You don’t need to look at the body of the loop at all. It’s a neater and more efficient way or working.
Replace the code in your Form Load event with this
Dim listItem As Integer

For i As Integer = 1 To 50
     ListBoxNumbers.Items.Add(i)
Next

For Each x As Integer In ListBoxNumbers.Items
     ListBoxMirror.Items.Add(x)
Next
Run this code and you’ll see the two listboxes have exactly the same set of numbers in there.
So what exactly is happening here?
We obviously have two loops here. The first loop is adding the numbers 1 to 50 to ListBox Numbers.
The second one is a lot more interesting. The For Each Loop, which is the second of the For Loops, allows you to neatly Loop through every item in a collection. As ListBoxNumbers is a list if Integers, we are reading each item in sequence, and adding each item to ListBoxMirror.
Change the code in the first loop to this
For i As Integer = 50 To 1 Step - 1
     ListBoxNumbers.Items.Add(i)
Next
The numbers in both boxes are reversed. Whatever is in ListBoxNumbers will be reflected in ListBoxMirror, whatever it’s contents. The For Each allows this to happen in an extremely neat manner and we will look at this a lot more in the coming tutorials.
So that concludes the three tutorials on Loops. Although there’s a lot to absorb, these are some of the fundamentals of programming and mastery of these is essential if you want to be a coding ninja.
Let me know what you think!